Ready to tap into your creativity and enjoy a classic game with a personalized twist? Crafting your very own DIY Operation Game is more than just an entertaining endeavor; it’s also a satisfying journey of making a custom board game. This hands-on activity not only fosters your ingenuity but also provides an interactive gaming experience that the whole family can enjoy. Whether you’re a crafty gamer looking to construct something special or a parent seeking a fun project to engage with your kids, our homemade operation game guide will walk you through the necessary steps and materials to bring your custom creation to life!
Through a mix of everyday items and simple electronics, you’ll be able to replicate the buzzes and flashes that made the original game a household staple. With no specialized equipment required, you have the freedom to imagine and engineer a game that reflects your personal style while sticking to the ever-thrilling game mechanics. Keep reading to learn about the essential materials and ingenious crafting techniques that will transform your gaming vision into a tangible, interactive game that’s uniquely yours.
Gathering Materials for Your DIY Operation Game
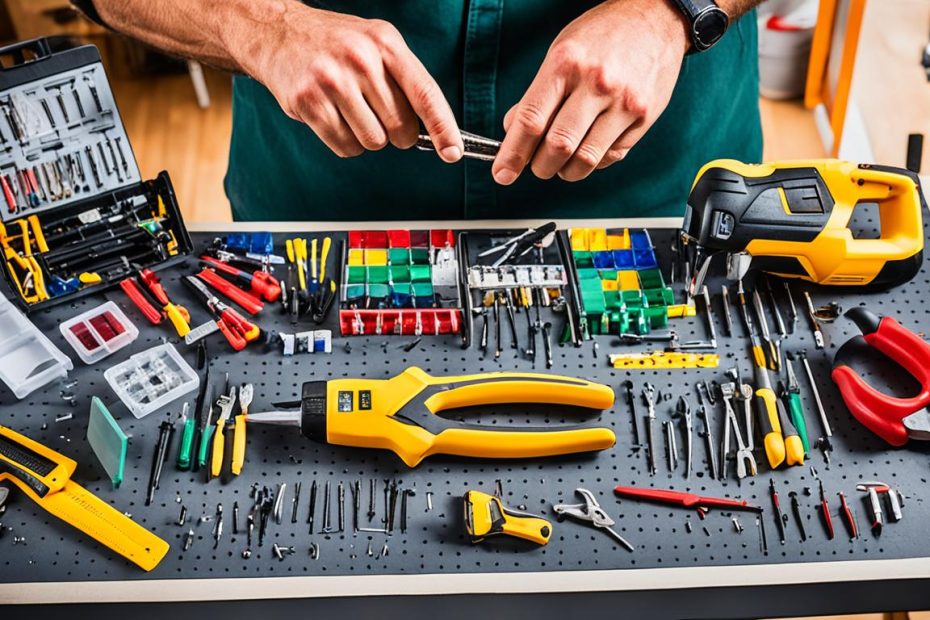
Embarking on the journey of creating your own DIY Operation Game is an exciting venture. To set you on the path to success, we’ve compiled a comprehensive list of Operation Game materials and DIY game crafting supplies that are not just affordable but also easily procurable. As you’re crafting homemade board game components, it’s crucial to choose the right conductive materials to ensure the functionality and longevity of your game. Below you’ll find everything you need to begin your project, from the game’s structural essentials to its electronic necessities.
- Foundational Materials:
- Flat box (TV box size recommended for the game board)
- Metal tongs (used as tweezers for game play)
- Disposable oven trays (for the game’s conductive elements)
- Electrical Components:
- Buzzer (crucial for creating the game’s recognizable sound effect)
- AA battery holder (to power the game)
- Red LEDs (for visual feedback during the game)
- Resistors (to protect LEDs from excess voltage)
- Stranded wire (for durable connections)
- Creative Supplies:
- Paint and Brushes (for personalizing your game board)
- Markers (to decorate and detail your game)
- Tape (various types such as electrical, packing, and mounting tape)
- Tool Kit:
- Soldering Iron (for creating durable electronic connections)
- Wire Strippers (to prepare wires for connections)
- Box Cutter (for cutting out game component slots)
- Multimeter (to test for conductivity)
Remember that selecting quality materials is just as important as your craftsmanship. For example, the metal tongs need to be conductive and sturdy for precise gameplay, and the red LEDs should have sufficient brightness for good visibility. When acquiring your conductive materials, ensure that they allow for proper electrical contact; you can verify this using a multimeter. Having a box cutter that provides precision and control will ease the process of customizing your game board. As for your Operation Game materials, those such as the insulated copper wire will provide flexibility and reliability for a creation that can endure the excitement of endless gameplay. Choose wisely, and prepare to craft an enduring, homemade board game that offers both challenge and cheer.
The Creative Process: Designing Your Own Operation Game Character
At the heart of your custom Operation Game lies the excitement of designing your very own character. This is your opportunity to imbue the game with a unique personality that enhances the interactive game challenges and makes your board game stand out. The creative journey of character selection for this personalizing board game exercise promises to be as engaging as the gameplay itself. Whether you lean towards iconic pop-culture icons or craft a new hero from the depths of your imagination, the initial step of character selection is a delightful prelude to the joyous trials of gameplay. Let’s embark on the first act of constructing your memorable Operation Game layout.
Choosing and Printing Your Operation Game Character
Selecting the patient for your game board is a critical step in the design of a custom Operation Game. You can repurpose a familiar face from among favorite cartoon characters or unleash creativity by introducing an original protagonist. With simplicity in mind, aim for characters with clear, uncluttered designs that easily translate into printable game characters. Consider using photo editing tools or plain scissors to give your chosen figure prominence against a blank background, thus ensuring your character is set perfectly upon the game’s stage.
Conceptualizing Ailments for Enhanced Fun
When personalizing board games, inventing apt and often whimsical ailments adds layers of narrative and engagement. Transforming ordinary plastic or everyday items into inventive board game tokens can give your game an edge. If your character hails from the futuristic circuits of technology, why not incorporate actual electronic parts to serve as custom operation game pieces? This clever alignment between character and thematic ailment ideas not only fortifies the story but also offers those daring enough to operate, a slightly more challenging endeavor.
Placing and Marking Ailment Locations on the Character
The strategic design choices continue as you determine where on your character to place each ailment, transforming the narrative flourish into a logistical Operation Game layout. Logical pairings of ailment and anatomy enrich the experience; ‘Butterflies in the Stomach’ might flutter in the abdominal area while a ‘Spare Ribs’ card sparks a search within the torso. A stack of cardboard becomes your canvas, where outlines marked offer a guide for subsequent removals, ensuring the ailment placement is feasible for gameplay. In this manner, each cut-out slot becomes a portal into unforeseen tales of surgical dexterity and whimsy.
